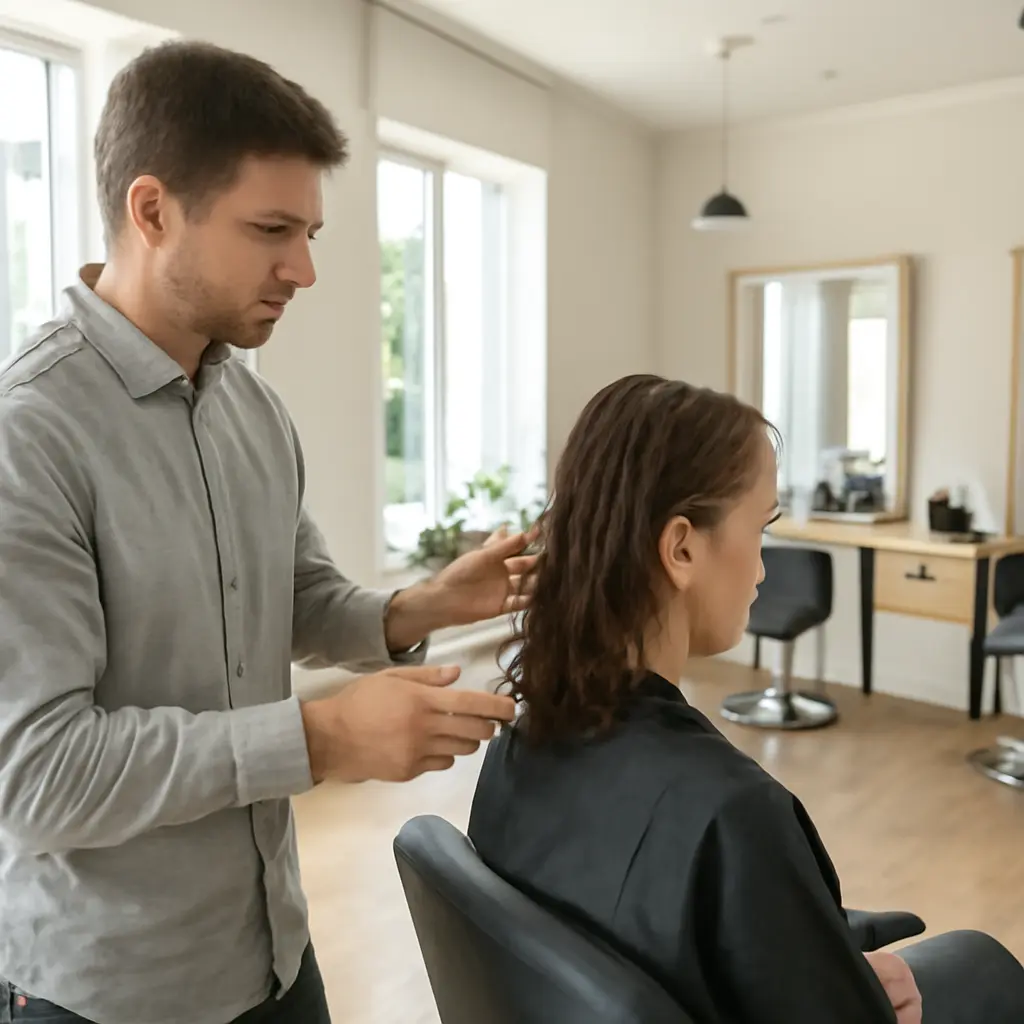

Shoulder-length hair sits in a versatile middle ground: long enough for defined waves and updos, yet short enough that heavy styling products can quickly weigh it down. The most reliable gel techniques are to apply gel to evenly damp hair, use a small amount and build gradually, choose the right application method for the style, and dry without disturbing the cast. These approaches draw on practical hairstyling guidance and cosmetic-science basics: the American Academy of Dermatology advises using conditioner suited to hair type and handling wet hair gently, while product labels and formulas vary, so results depend on hair texture, density, and the gel itself.
Gel application techniques for shoulder-length hair
A gel technique is a repeatable way of distributing a styling gel through hair so its film-forming ingredients can help hold a chosen shape as the hair dries. Cosmetic chemist Perry Romanowski has explained that styling gels commonly rely on polymers that form a flexible or firm film around hair strands; the exact hold and feel depend on the formula. For shoulder-length locks, the practical challenge is balance: enough product to control and define, but not so much that the mid-lengths and ends look stiff or coated.
The five techniques below—raking, glazing, scrunching, brush styling, and root-focused application—are related methods, not competing rules. Choose among them according to the finish you want, then adjust the amount and placement to your hair’s texture and density.
1. Rake gel through damp hair for even coverage
Raking means spreading a small amount of gel between your palms, then gently drawing your fingers through damp hair from near the roots toward the ends. It is especially useful for straight, wavy, or loosely curly hair when the goal is consistent hold, smoother sections, or controlled movement.
Start with less gel than you think you need, concentrating on the mid-lengths and ends before using any leftover product near the roots. Work in sections if your hair is thick or dense, and avoid tugging through tangles: the American Academy of Dermatology cautions that wet hair can be more vulnerable to breakage, so detangle gently with a wide-tooth comb or fingers. If strands begin to clump too heavily, add a little water to your hands rather than more gel.
2. Glaze over the surface to smooth flyaways
Glazing is a light, surface-level application: smooth a thin layer of gel over the outside of a section instead of combing it throughout the hair. It can refine a ponytail, bun, half-up style, or softly defined waves without saturating every strand.
For shoulder-length hair, emulsify a pea-sized amount between your palms and skim your hands over the surface, following the direction of the hairstyle. Use fingertips for small flyaways around the hairline. Glazing works best after the main shape is already established; adding a heavy coating can make hair look slick or create visible residue, particularly if the gel is layered over oils, creams, or other styling products.
3. Scrunch gel into waves and curls for definition
Scrunching means pressing the ends of damp, gel-coated hair upward toward the scalp with an open palm, encouraging waves or curls to form without pulling them straight. It is a useful technique for naturally wavy and curly hair, including shoulder-length cuts where the ends can lose definition under excess product or handling.
Apply gel in sections, then scrunch from the ends upward. If your hair is very wet, gently squeeze out excess water first; if it is frizz-prone, apply gel while it remains quite wet and avoid repeatedly touching it as it dries. A diffuser on a low or moderate setting can help dry curls while limiting disruption, but air-drying is also an option. Once hair is fully dry, gently squeeze out any crisp cast with clean hands if the formula leaves one.
The curl pattern matters more than length alone. The familiar Andre Walker hair typing system is one popular classification, but it is not a universal scientific standard; use your own strand behavior, density, and response to products to guide technique rather than relying on a type label.
4. Brush-style gel for polished, deliberate shapes
Brush styling uses a brush or comb to distribute gel and shape hair into a deliberate pattern. It can create defined waves, smooth bends, or a neat finish on straight-to-wavy hair. On curls, a brush may also help group strands into larger, more uniform sections, provided it is used gently and on damp hair with enough slip.
Divide shoulder-length hair into manageable sections, apply a modest amount of gel, and brush each section in the direction you want it to sit. For a wave pattern, guide the section into a curve and avoid brushing it repeatedly after styling. For fragile or tightly curled hair, use fingers or a suitable wide-tooth tool if brushing causes snagging. The American Academy of Dermatology recommends gentle handling and minimizing practices that pull on hair, making tension control as important as the product choice.
5. Apply gel at the roots selectively for lift and control
Root-focused application places gel only where extra control or structure is needed—such as the crown, part, or hairline—while keeping the rest of the hair lighter. This is useful for taming short layers, defining a part, or helping a style hold its shape without coating shoulder-length ends.
Use a fingertip amount, spread it thinly, and direct roots with your fingers or a comb. For volume, avoid pressing the roots flat against the scalp; lift sections while drying instead. For slicked-back styles, apply in small amounts and smooth gradually. If the scalp becomes itchy or irritated, stop using the product and rinse it out; the U.S. Food and Drug Administration advises consumers to follow cosmetic product directions and discontinue use if irritation occurs.
Choosing gel and adjusting the technique
The same method can produce different results with different gels. Lightweight gels or fluid stylers are often easier to distribute through fine or low-density hair, while thicker formulas may provide more control for dense or coarse hair. “Strong hold” is not a standardized performance guarantee across brands, so use the label as a starting point and test a small amount before committing to a full style.
- Fine or easily weighed-down hair: begin with a small amount, apply mainly to mid-lengths and ends, and reserve root product for specific areas.
- Thick or dense hair: work in sections so product reaches the interior layers instead of forming a coating on the surface alone.
- Wavy or curly hair: try scrunching or brush styling, then limit touching while the hair dries.
- Straight or flyaway-prone hair: try raking for broad control or glazing for a smoother surface finish.
- Any hair type: follow the label, avoid applying more product than needed, and rinse thoroughly during your regular wash routine.
There is no universal “correct” amount because strand thickness, density, water content, and formula all affect distribution. A practical test is to begin with a small dab, style one section, and add a little more only if the hair still lacks definition or control.
Drying, troubleshooting, and buildup prevention
Drying completes the styling process: as water evaporates, gel polymers can leave a film that helps hair retain its set. Let the shape dry before brushing or separating it, unless the style calls for a soft finish. A diffuser can support curl definition; a low-tension air-dry can work well for smoother styles. Avoid excessive heat, and follow the directions for any heat-protective product you use.
- Hair feels crunchy: use less gel next time, or gently scrunch the fully dry cast to soften it.
- Hair looks greasy or flat: reduce the amount, keep product away from the roots, or switch to a lighter formula.
- Hair feels sticky or flakes: check whether products are compatible, avoid layering too many stylers, and try a smaller amount on clean hair.
- Waves lose shape: apply gel more evenly, reduce handling while drying, and check whether the formula offers enough hold for your hair.
- Scalp feels uncomfortable: rinse the product out and discontinue use if irritation continues.
For a simple real-world comparison, test two techniques on separate sections after washing: rake gel through one section and scrunch it into another. Use the same gel and similar amounts, then compare definition, volume, feel, and how the style looks once dry. This small trial is more useful than assuming a technique will perform identically for every shoulder-length cut.
Conclusion: Make gel work with your shoulder-length cut
For shoulder-length hair, the most dependable gel routine combines measured application with a method suited to the result: rake for even coverage, glaze for surface smoothing, scrunch for waves and curls, brush-style for deliberate shapes, or apply selectively at the roots for control. Start with damp hair and a small amount, adjust by section and texture, and let the style dry before judging the hold. Try one method at a time and keep notes on what works with your cut, routine, and preferred finish.
Sources: American Academy of Dermatology Association, Tips for healthy hair, https://www.aad.org/public/everyday-care/hair-scalp-care/hair/healthy-hair-tips; U.S. Food and Drug Administration, Cosmetics: Personal Care Products, https://www.fda.gov/cosmetics; Perry Romanowski, The Beauty Brains, hair styling product and polymer education, https://thebeautybrains.com/